PixelPAD Asteroids
March 16, 2021 - Written by Mike Blackstock
Recently I took a weekend job teaching kids how to code at a Vancouver-based company called Under the GUI (UTG). One of the cool things about the company is that they have their own platform for teaching kids how to code called PixelPAD. The web based platform provides an easy to use game engine for kids to learn how to code in Python. In this post I’ll introduce PixelPAD and demonstrate it with an Asteroids game.
PixelPAD Introduction
PixelPAD is a web based platform that allows you to develop and run Python game applications right in the browser. It provides an easy to use development environment to simplify game development for kids.
It is built on a number of open source components including PixiJS, howler.js for sound effects, and Skulpt for the browser-based Python interpreter. The code editor is monaco used in the popular VS Code development environment.
PixiJS is a key component to PixelPAD; it’s a library for creating interactive web experiences including games without having to use the WebGL API directly. It takes care of browser and device compatibility and performance issues between browsers and devices. From what I can see, much of the functionality of PixelPAD is a Python wrapper on key PixiJS APIs. Some example web sites that make use of it are available in the gallery. To play around with the API, you can check out the Pixi Playground
Using PixelPAD
To get started with PixelPAD, just hit the home page. Right from there, and without even without registering you can jump in to play or edit and run some games such as timon and pumba, alien invaders, flappy and a huge number of games developed by users.
Once you register, your home screen has a number of options to explore. To start creating your own game from scratch, you click on the My Apps item, and then the Create App button as shown below.
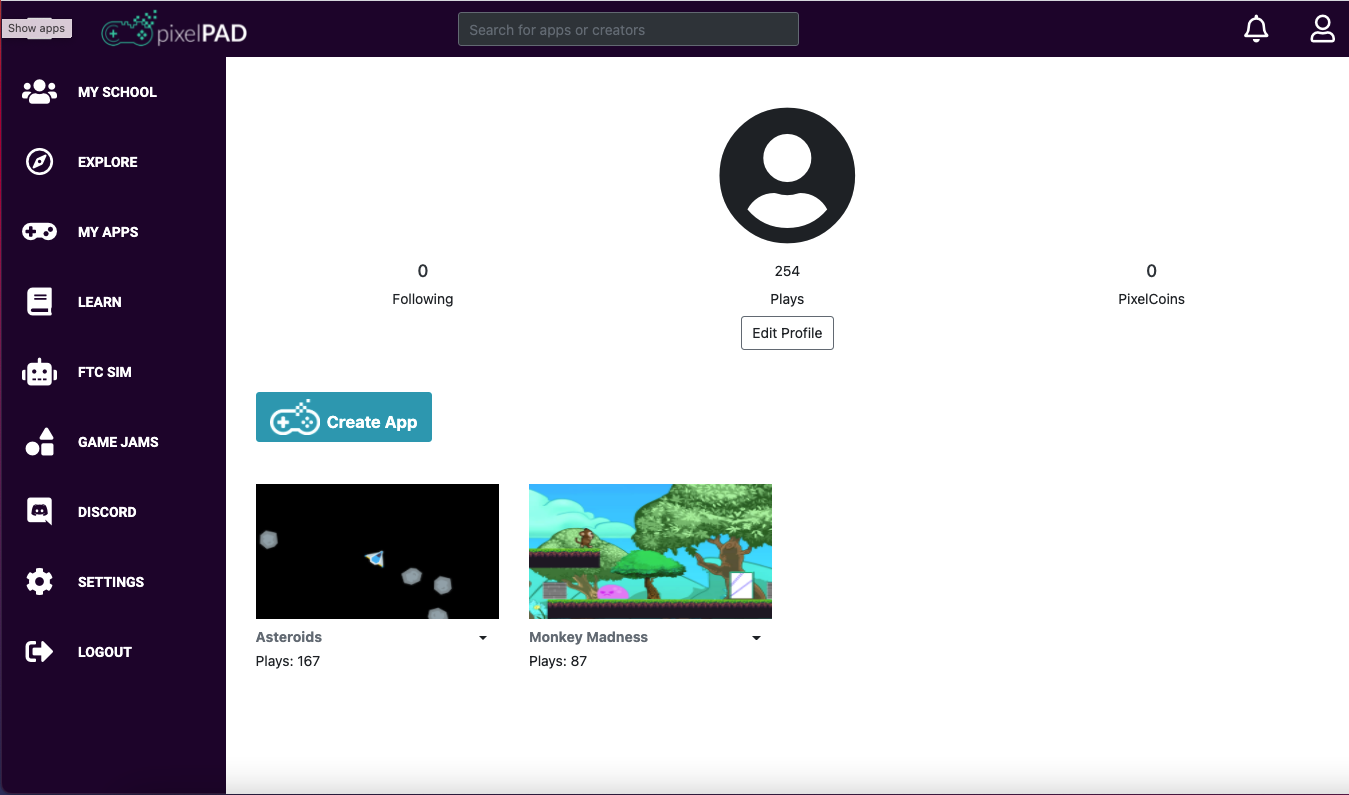 Figure 1. My Applications
This takes you to the development environment shown. On the left are game Assets that you create: Classes, Rooms, Sprites, Sounds and Functions. The middle contains the editor for editing the Start and Loop Scripts for Classes or Functions. The right side contains a canvas that displays the game when you run it. The Start script is executed when the game starts, whereas the Loop script is executed 60 times per second to change the state of Assets over time.
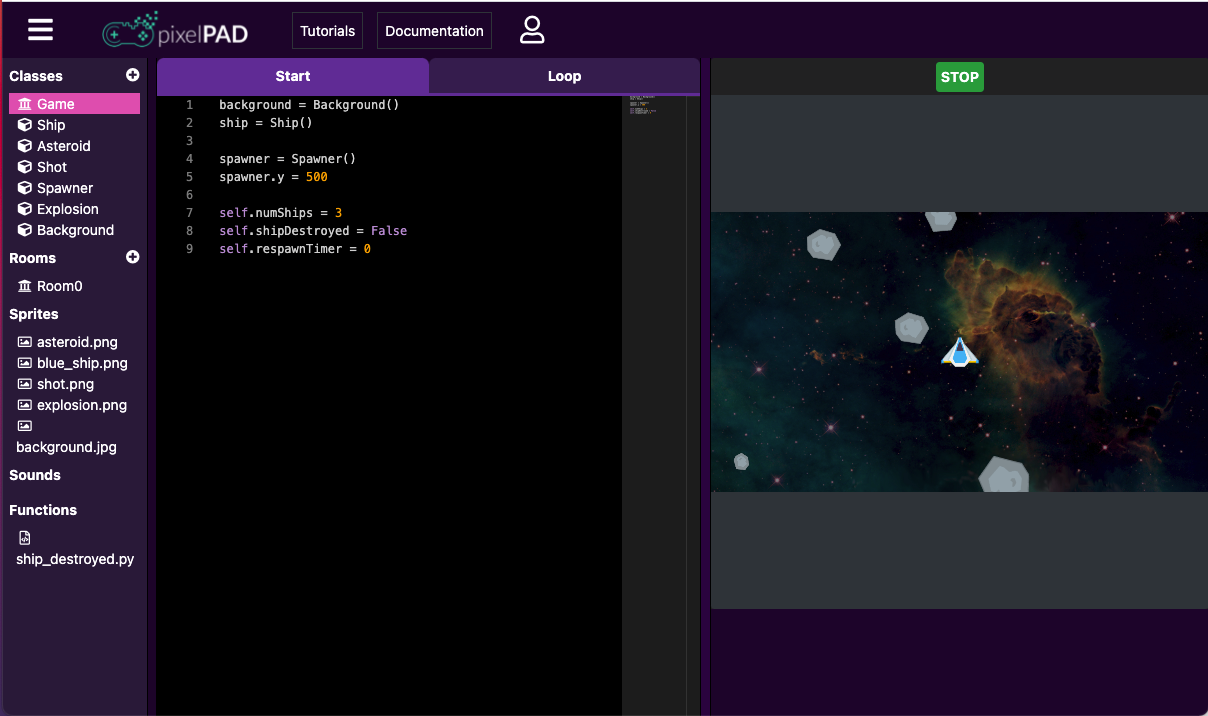 Figure 2. The Development Environment
Life is a Stage
When teaching kids how to code, it is sometimes useful to think of the game as a play or movie where actors perform. The canvas is the stage or big screen, the Classes are the ‘actors’ in the movie, and the Sprites are the ‘constumes’ that the actors wear. Rooms are like the ‘scenes’ in the play or movie. The area in the middle is where you write the ‘scripts’ for the actors.
One small problem I’ve found with this analogy is that Classes are used to create actors (Objects), they are not really actors themselves. It’s possible to have multiple enemy objects created from an Enemy class for example.
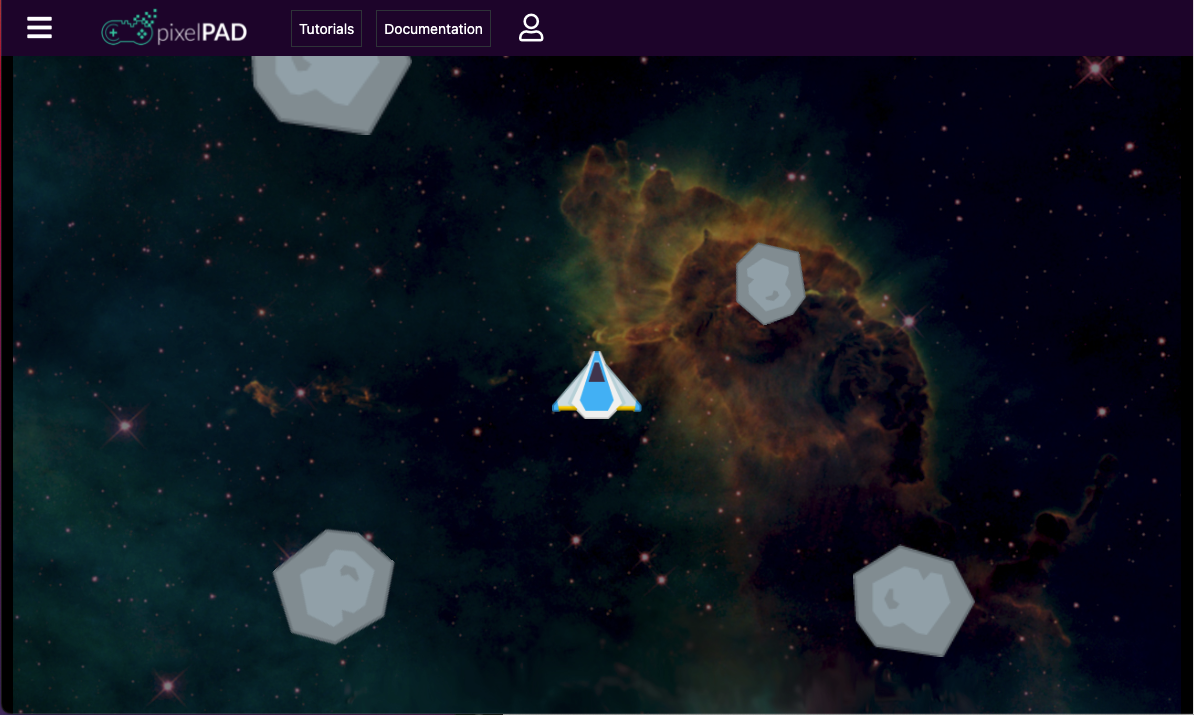
Asteroids
For fun, and to explore some of the different features of PixelPAD, I created a simple Asteroids game. It has a number of Classes: the built in Game, a Ship, Asteroid, Shot, Spawner, an Explosion, and Background.
Game Start Script
The Game creates the other objects in the game in its Start script. It adds a Background, and a Spawner to create asteroids, sets a number of global game variables related to tracking the state of the ship and creating new ships after they are destroyed implemented in the Game Loop.
background = Background()
ship = Ship()

spawner = Spawner()
spawner.y = 500

self.numShips = 3
self.shipDestroyed = False
self.respawnTimer = 0
Game Loop
The Game Loop script below creates new ships after they’ve been destroyed, and prints ‘Game Over’ when the number of ships left drops to zero.
if self.numShips == 0:
    print("game over")

if self.shipDestroyed:
    self.respawnTimer = self.respawnTimer+1

if self.respawnTimer > 120:
    ship = Ship()
    self.shipDestroyed = False
    self.respawnTimer = 0
The Ship Class
The Ship Class is the most complex. The Start script initializes some fields in the Ship object including the sprite:
self.sprite = sprite('blue_ship.png')
self.speedX = 0
self.speedY = 0
This sets the sprite to the ‘blue_ship.png’ image that was added to the Sprites list. This is often the first line in a Class - setting the sprite.
The Ship Loop
The Ship Loop script checks the keyboard and rotates and moves the ship, managing thrust, etc. and creates Shot objects when the user shoots. Getting the geometry and physics right was interesting.
import math

if key_is_pressed('arrowleft'):
    self.angle += 2

if key_is_pressed('arrowright'):
    self.angle -= 2

if self.angle > 360:
    self.angle -= 360
if self.angle < 0:
    self.angle = 360+self.angle

# angle is measured from upward for the ship, so we add 90
# then we convert to radians
radians = (self.angle + 90)/360 * 2 * math.pi

# thrust
if key_is_pressed('arrowup'):
    moveY = math.sin(radians) * 0.1
    moveX = math.cos(radians) * 0.1
    self.speedX = self.speedX + moveX
    self.speedY = self.speedY + moveY

if self.speedX > -0.01 and self.speedX < 0.01:
    self.speedX = 0

if self.speedY > -0.01 and self.speedY < 0.01:
    self.speedY = 0

# ensure the overall speed is no greater than 10
speedMagnitude = math.sqrt(self.speedX**2 + self.speedY**2)
if speedMagnitude > 10:
    self.speedX = self.speedX*10/speedMagnitude
    self.speedY = self.speedY*10/speedMagnitude
    speedMagnitude = 10

# now we update our movement
self.x += self.speedX
self.y += self.speedY


if self.y > 300:
    self.y = -300

if self.y < -300:
    self.y = 300

if self.x > 600:
    self.x = -600

if self.x < -600:
    self.x = 600

# shoot
if key_was_pressed(' '):
    shot = Shot()
    shot.direction = self.angle
    # ensure we shoot from the nose, not the middle
    noseY = math.sin(radians) * 40
    noseX = math.cos(radians) * 40
    shot.x = self.x + noseX
    shot.y = self.y + noseY

    # add shot speed to our current speed
    shotSpeedY = math.sin(radians) * 4
    shotSpeedX = math.cos(radians) * 4
    shot.speedX = self.speedX+shotSpeedX
    shot.speedY = self.speedY+shotSpeedY

asteroid = get_collision(self, 'Asteroid')
if asteroid:
    explosion = Explosion();
    explosion.x = self.x
    explosion.y = self.y
    explosion = Explosion();
    explosion.x = asteroid.x
    explosion.y = asteroid.y
    ship_destroyed()
    # game.shipDestroyed = True
    # game.numShips = game.numShips - 1
    destroy(self)
    destroy(asteroid)
Feel free to have a look at the rest of the code or just play the game!
A Few Rough Edges
As a new instructor using the platform, I fould there are a few rough edges though. The user interface for the documentation user interface can be hard to navigate. It is not accurate in a few places (e.g. keyboard input). I’ve found that the best way to learn how things are done is to look at the many example game where possible.
When creating games, you often need sprites, especially for the tutorials. There are not that many sprites supplied, even for the tutorial games, and finding ones you like can be difficult. It’s not easy to reuse favourite sprites you’ve added since they are not saved with the platform after upload.
There doesn’t seem to be support for version control such as git. It can make it hard to experiment without worrying about losing code. I can’t see how to fork applications yet to leverage other users code, or make different versions of my own games. It would also be great to be able to export my apps somehow, possibly run them in a stand alone browser set up locally.
Wrap
I really love PixelPAD. Its a great platform for teaching kids to code. The developers made some great choices in the open source components they leverage to create an easy to use system for teaching kids. The games perform really well, and you can get something up and running quickly. Very cool.
While the platform is missing a few features, the system is stable and fun to use. I suspect many of these features are in the works and look forward to seeing new versions from the UTG team.